TL;DR: Moode Audio is a powerful, free software that transforms a simple Raspberry Pi into an audiophile-grade music player. Perfect for sound quality enthusiasts and DIYers, it delivers outstanding audio for a fraction of the cost.
Can you imagine getting sound quality worthy of Hi-Fi equipment costing thousands of dollars… with a micro-computer that fits in the palm of your hand? That’s the somewhat wild promise of DIY (Do It Yourself) digital audio. At the heart of this revolution are little software gems like Moode Audio.
This slightly odd name is on the lips of every audiophile tinkerer. It’s a kind of software magic wand that turns the humble Raspberry Pi into a high-end network streamer. But is it really that simple? Is it right for you? If you’re looking to upgrade your sound without emptying your bank account, you’ve come to the right place. Let’s dive in!
🎧 What Exactly Is Moode Audio?
Simply put, Moode Audio is a complete operating system, specially designed for one single task: playing music with the highest possible fidelity. You install it on a Raspberry Pi’s microSD card, and it replaces the usual OS (like Raspberry Pi OS).
Moode’s primary mission, its obsession, is bit-perfect playback. This fancy term means that the software ensures the digital audio file is transmitted to the converter (the famous DAC) without any alteration. Every bit of the original file is respected, guaranteeing that you hear the music exactly as the artist and sound engineer intended.
But Moode doesn’t stop there. It’s packed with a ton of features, all accessible through a simple web page on your phone or computer:
- Broad Compatibility: It plays almost all audio formats, from the classic MP3 and AAC to high-resolution audiophile files like FLAC, ALAC, DSD, and MQA.
- Streaming Services: It natively integrates Spotify Connect, TIDAL Connect, and Qobuz. This means you can send music from your favorite apps directly to your Raspberry Pi.
- Web Radios & More: Access thousands of internet radio stations, and it’s compatible with AirPlay for Apple users and UPnP for integration into an existing multimedia ecosystem.
- A Passion Project: Moode has been developed and maintained by one person, Tim Curtis, for years. The software is completely free, funded solely by community donations. It’s the open-source spirit at its best.
🤔 Is Moode Right for You?
This is the crucial question. Moode is incredibly powerful, but it’s not for everyone. Here’s a little chart to help you see things more clearly.
| ✅ Moode is probably for you if… | ❌ Moode might not be for you if… |
|---|---|
| You like to understand how things work and tweak them. | You’re looking for a “plug-and-play” solution that works in 30 seconds. |
| Your budget is tight, but your standards for sound quality are high. | The interface design and ergonomics of a dedicated app are your top priorities. |
| You already have a library of music files on a hard drive. | You have no desire to know what a DAC or an IP address is. |
| The idea of a small DIY project for an evening excites you. | You prefer the simplicity and warranty of a commercial product. |
In short, if you’re the type to assemble your own furniture or troubleshoot your relatives’ computers, you’re going to love Moode.
🛠️ The Step-by-Step Installation Guide
Convinced? Excellent. Setting up your Moode player is much easier than it sounds. It happens in two stages: the hardware, then the software.
The Shopping List: Required Hardware
- A Raspberry Pi: For a comfortable experience, I recommend a Raspberry Pi 4 Model B. The brand-new Pi 5 is even faster, but it’s a bit overkill just for listening to music. A Pi 3B+ can also do the job, but the web interface will be a little less responsive. Consider checking a guide to choose the right Raspberry Pi if you’re undecided.
- A microSD Card: No need for a huge capacity. A 16GB card from a good brand (SanDisk, Samsung…) is more than enough.
- A Quality Power Supply: This is a critical point. Use the official Raspberry Pi USB-C power supply or a quality equivalent. A poor power supply can cause bugs and degrade sound quality.
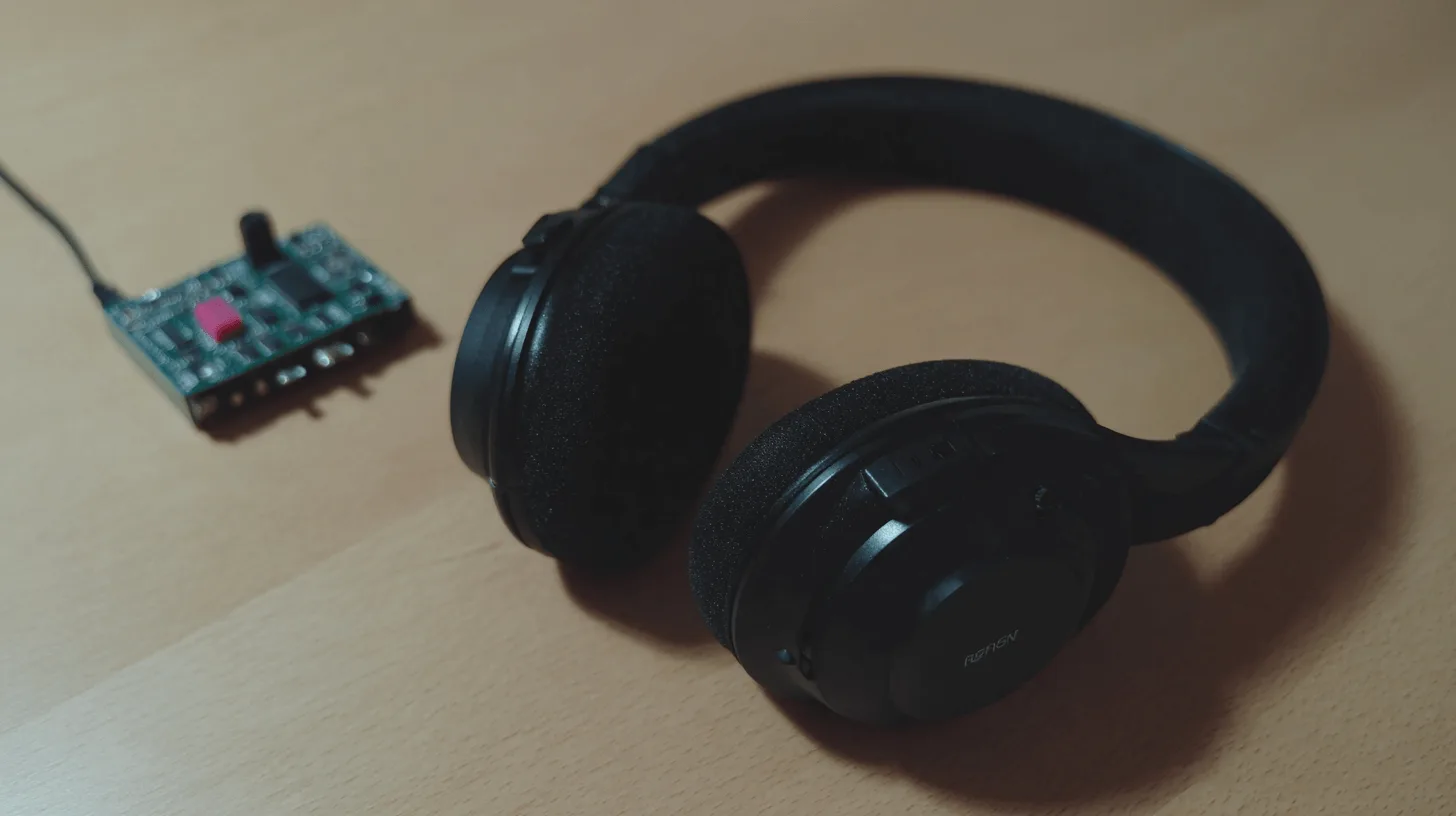
- A DAC (Digital-to-Analog Converter): This is the heart of your system. The Raspberry Pi’s own headphone jack is very low quality. A DAC is a box that takes the “pure” digital signal from the Pi’s USB port and converts it into a high-quality analog signal for your amplifier. You can find excellent USB DACs starting from around $80 (from brands like Topping, SMSL, iFi) or “HAT DACs” that plug directly onto the Pi. This is the most important investment for sound.
The Software Prep: Flashing the Moode Image
Now that you have the hardware, let’s get to the installation.
- Download Moode: Go to The official Moode Audio website and download the latest version (“Download” then “Moode Audio Player”). You’ll get a compressed file (.zip, .xz…). Unzip it to get a
.imgimage file. - Download Raspberry Pi Imager: This is the official and easiest tool to prepare your SD card. Download it from the Raspberry Pi website and install it on your computer.
- Flash!
- Insert your microSD card into your computer.
- Launch Raspberry Pi Imager.
- Click “CHOOSE OS” and select “Use custom”. Find the Moode
.imgfile you just unzipped. - Click “CHOOSE STORAGE” and select your microSD card.
- Click “WRITE”. Wait a few minutes.
And that’s it! Your card is ready. Insert it into your Raspberry Pi, connect your DAC, the network cable (Wi-Fi is configured later), and finally, the power supply.
🎵 First Boot and Basic Configuration
Let the Raspberry Pi boot up for two or three minutes. Then, from a smartphone or computer connected to the same network, open a web browser (Chrome, Firefox, Safari…).
In the address bar, simply type: http://moode.local
Like magic, the Moode interface appears! The first time, a setup wizard may launch. The most important steps are:
- Configure the Audio: Go to the menu in the top right (the “m” icon), then
Audio. This is where you must select your DAC from theI2S audio devicelist (for HAT DACs) or leave it onUSBif it’s an external DAC. This is THE setting not to miss. - Configure Your Music: In the same menu, go to
Library. Here you can configure access to your files on a USB hard drive connected to the Pi, or on a shared folder on your network (a NAS, for example).
Take some time to explore the interface. It’s dense but very logical. Click the music note icon at the bottom to access your library and start playback.
🥊 Moode vs. The Competition (Volumio, RopieeeXL…)
Moode isn’t alone in this space. Its best-known competitor is Volumio. So, which one should you choose?
| Criteria | Moode Audio | Volumio | RopieeeXL |
|---|---|---|---|
| Philosophy | Audiophile, deep customization | Mainstream, user-friendly ecosystem | Minimalist, focused on Roon software |
| Interface | Functional, a bit “old school” | Modern, very intuitive | No dedicated playback interface |
| Price Model | Free (donation-based) | Freemium (paid features) | Free (donation-based) |
| Best for… | The purist who loves to tweak | The user who wants simplicity & polish | The Roon Labs subscriber |
From the Editor’s Desk: People often joke that Moode is for engineers and Volumio is for everyone else. The truth is more nuanced. Volumio offers a more polished, “consumer product” experience right out of the box. Moode, on the other hand, is a diamond in the rough. Its interface is less flashy, but the audio configuration options are staggering and allow those who know what they’re doing to achieve an absolutely incredible level of sound performance. If your only goal is sound quality and you love being in control, Moode is hard to beat.
✨ Going Further: Pro Tips & Tricks
Once you’ve mastered the basics, Moode reveals its true power.
- Enable Streaming Services: In
Configure>Audio, you’ll find sections to enableSpotify Connect,TIDAL Connect, andQobuz. Once enabled, your Moode player will appear as an available playback device directly within those apps. - The Parametric Equalizer: An extremely powerful tool to correct flaws in your room or speakers. Use it with caution, as it alters the bit-perfect signal.
- Resampling (Up-sampling): Moode can convert audio files on the fly to a higher sample rate (e.g., from 44.1kHz to 192kHz) before sending them to the DAC. Some DACs perform better this way. It’s a fascinating area for experimentation.
- Control it with an App: If the web interface isn’t your cup of tea, there are excellent mobile apps that can control Moode, like
M.A.L.P.on Android ormoOde controlleron iOS.
❓ FAQ: Your Moode Questions Answered
Is Moode Audio really free?
Yes, Moode Audio is 100% free to download and use. The project is maintained by its creator, Tim Curtis, and is funded entirely by user donations. If you enjoy the software, making a donation via the official website is a great way to support its development.
What is the best Raspberry Pi for Moode in 2025?
The Raspberry Pi 4 Model B remains the ideal choice. It offers more than enough power, comprehensive connectivity, and excellent stability. The brand-new Raspberry Pi 5 also works great and provides an even smoother interface, but it’s a bit overkill for purely audio use.
I can hear sound through my TV’s HDMI port, is that good enough?
Technically, yes, but it’s not ideal for Hi-Fi. The sound will be processed by your TV’s or AV receiver’s converter, which isn’t always optimized for music. To get the best sound quality, it’s highly recommended to use one of the best DACs for Raspberry Pi, connected via USB or as a HAT.
How do I update Moode Audio?
Moode has a very simple built-in update function. In the web interface, go to the Configure menu (the ‘m’ icon), then System, and click Check for updates. The system will then guide you through installing the latest version.
Our Verdict
It’s hard not to be enthusiastic about a project like Moode Audio. For the price of a Raspberry Pi and a small DAC, you can build a network streamer that fearlessly competes with devices costing 10 to 20 times as much. It’s a fantastic gateway into our deep dive into digital Hi-Fi.
Yes, Moode requires a small personal investment at the beginning. You have to enjoy getting your hands a little dirty. But it’s well worth the effort. The satisfaction of having built your own ultra-high-performance audio system is immense. And above all, the sound quality is simply stunning. So, don’t hesitate—go for it!